The holidays are my favorite time of year. I’m half Catholic and half Jewish, and December always meant lots of family time and delicious treats around the house. I have fond memories of baking with my mom and sharing treats with our friends and family.
Here are a few recipes that you can make with your kids and share – or just keep for yourself.
Easy Tzimmes
Tzimmes is a Yiddish word meaning “a big fuss,” but the recipe is traditionally a Jewish stew of sweetened vegetables or vegetables and fruit. This is my Aunt Linda’s recipe, with slight tweaks. Some people add meat or onions but we prefer it as a sweet side dish. It’s often eaten during Rosh Hashana, but it’s the perfect comfort food for all your winter celebrations.
![]() Here’s what you need:
Here’s what you need:
1 pound sweet potatoes or yams
1 pound carrots
¼ cup butter, cut into ½ inch cubes
½ cup water
¼ cup brown sugar
6 ounces seedless Medjool dates, chopped into quarters
2 liberal tablespoons of honey
Here’s what you do:
1. Preheat oven to 350°F. Spray a casserole dish with a neutral oil or nonstick spray like Pam.
2. Peel and dice the sweet potatoes and carrots. I like to dice them into about ½ to 1 inch thickness.
3. Combine all ingredients into
the casserole dish and cover loosely with foil, venting one corner.
4. Cook for 90 minutes covered, basting every 30 minutes. After 90 minutes, uncover and cook for 45 minutes more, or until vegetables are soft enough to eat.
Recipe notes:
Baste carefully so the sweet potatoes don’t get too mushy.
Additional optional add-ins are prunes, apricots and raisins.
This recipe tastes great the next day (and day after). Recipe can be frozen for up to three months, then defrosted in the fridge over night.
Matzah Toffee
![]() Matzah (or matzo) is unleavened bread, with a cracker-like texture, traditionally eaten during Passover. This recipe is a great way to use up leftover matzah and a delicious, highly addictive treat. My kids love helping out – spreading the matzah, sprinkling the chocolate chips, and of course, taste testing!
Matzah (or matzo) is unleavened bread, with a cracker-like texture, traditionally eaten during Passover. This recipe is a great way to use up leftover matzah and a delicious, highly addictive treat. My kids love helping out – spreading the matzah, sprinkling the chocolate chips, and of course, taste testing!
Here’s what you need:
4 sheets of unsalted matzah
½ cup unsalted butter
1 cup packed brown sugar
1 ½ cups semisweet chocolate chips
½-1 cup topping – I love sliced almonds and/or toffee bites
Here’s what you do:
1. Preheat oven to 325°F.
2. Line a large baking sheet with parchment paper or foil so it covers the edges. Spray foil with a nonstick cooking spray.
3. Place matzah in an even layer on baking sheet and set aside. You may need to cut two of the matzah sheets to fill the full baking pan.
4. Melt your butter and brown sugar in a saucepan over medium-low heat. When melted, bring butter and brown sugar mixture to a boil.
Simmer for 4 minutes, stirring constantly.
5. Pour mixture evenly over matzah and spread evenly using a spatula. Bake for 8 minutes.
6. Remove the pan from the oven and sprinkle chocolate chips evenly over the top. Let the chocolate chips start to melt for 1-2 minutes. Spread melted chocolate with a rubber spatula until smooth.
7. Sprinkle almonds or toffee on top. You can also add seasonal sprinkles to make this a festive treat.
8. Cool until the chocolate hardens, or about 1-2 hours in the fridge. Then, break up matzah into bite-sized pieces.
Two Treats for Your Christmas Cookie Tray
Baking for the holidays and preparing cookie trays is one of my favorite hobbies. Here are three easy recipes for all holiday cookie trays.
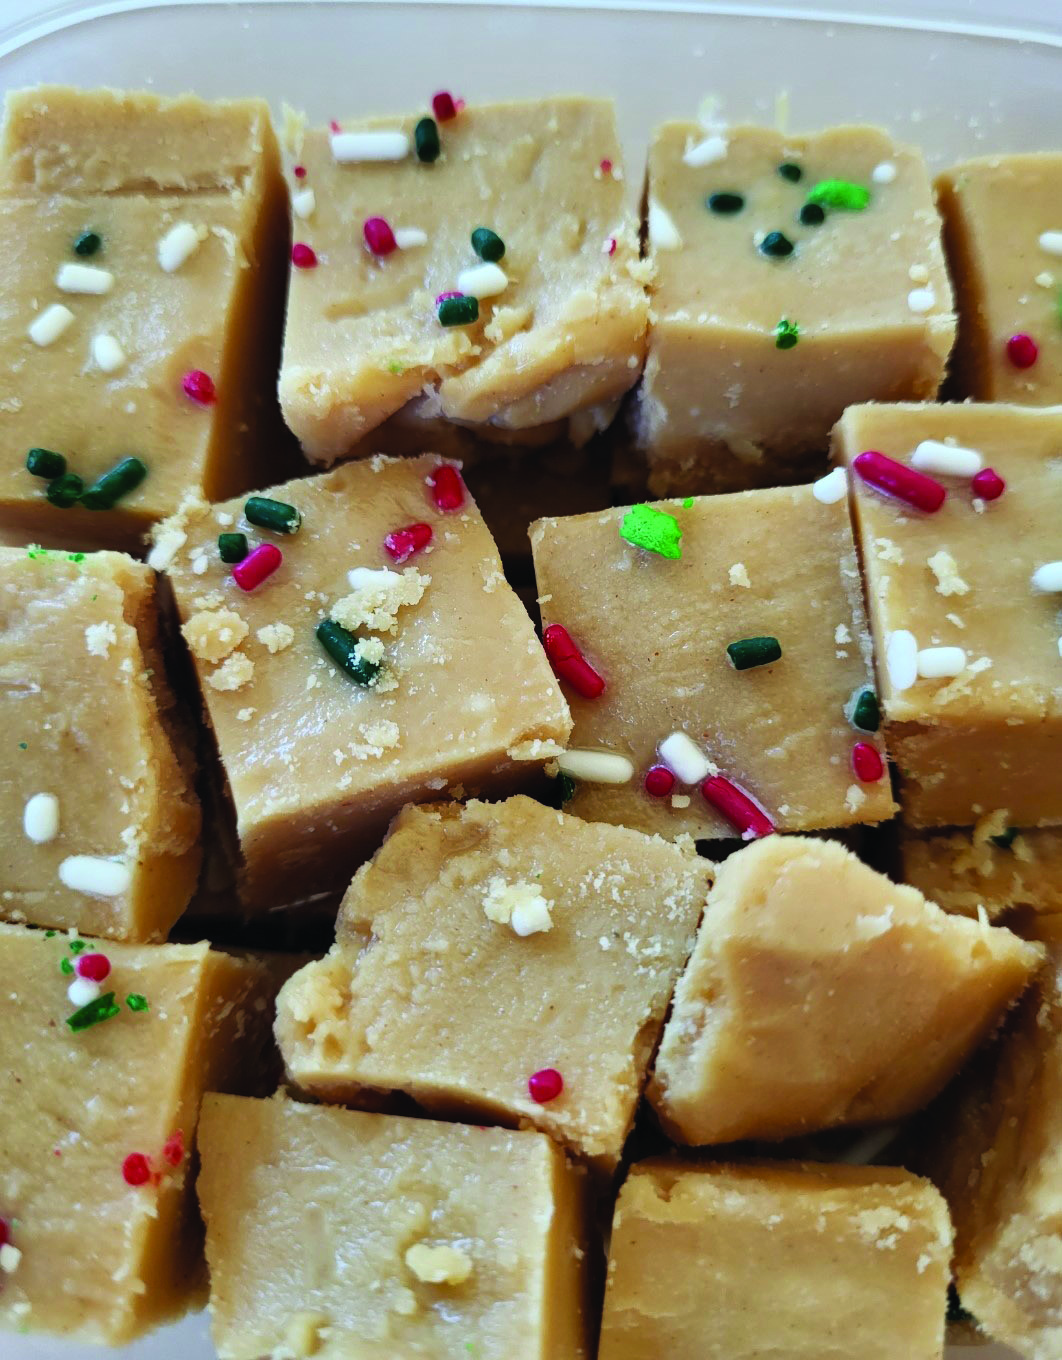
Microwave Peanut Butter Fudge![]()
I always end up making more than one batch of this fudge every year. With only three ingredients and no oven needed, it’s not only easy to make, but it’s also a crowd-pleaser.
Here’s what you need:
1 cup creamy peanut butter (I don’t recommend any natural or organic kinds)
8 oz unsalted butter
1 pound (about 3 ½ cups) powdered sugar
Optional: holiday sprinkles or diced peanut butter cups
Here’s what you do:
1. Line an 8×8” pan with foil or parchment paper so it hangs over the side. Spray foil with a nonstick cooking spray.
2. In a microwave-safe bowl, combine peanut butter and butter. Microwave for 2-3 minutes, stopping to stir every minute until mixture is completely smooth.
3. Add in powdered sugar and stir with spatula until lumps are gone. Your batter will be thick.
4. Spread the batter onto the pan evenly. If topping with anything, add now. Refrigerate for at least two hours. When set, remove fudge from the pan and cut into 1-inch squares.
![]() Chocolate Fudge Thumbprint Cookies
Chocolate Fudge Thumbprint Cookies
Jam thumbprints and peanut butter Kiss thumbprints are two staples on our cookie tray every year. My kids love the job of rolling the dough into balls and adding their thumbprints in the middle. For the chocolate lover, here’s another thumbprint cookie you won’t want to miss.
Here’s what you need:
For the cookies:
2 sticks + 2 tablespoons of butter, softened
3/4 cup sugar
1/3 cup cocoa powder
2 cups flour
1/2 teaspoon baking soda
1 teaspoon baking powder
1/2 teaspoon salt
For the fudge frosting:
3 tablespoons cocoa powder
1 heaping cup of powdered sugar
2–3 tablespoons hot water
1 teaspoon vanilla
holiday sprinkles
Here’s what you do:
1. Preheat the oven to 350°F.
2. In the bowl of your stand mixer (or with a hand mixer), cream the butter and the sugar together until smooth.
3. Add the 1/3 cup cocoa powder and blend until incorporated.
4. In a separate bowl, mix the flour, baking soda, baking powder and salt. Add to the butter mixture and mix until just combined — don’t overmix.
5. Roll dough into small balls and make an imprint with your thumb in the center of each ball.
6. Bake for 7-8 minutes or until batter appears dry. They should still be soft, like a brownie.
7. After removing from the oven, you may need to use a small spoon to further indent your thumbprint and make a well for the fudge topping. Then, cool completely.
8. While your cookies are cooling, prepare the fudge frosting. Whisk the 3 tablespoons of cocoa powder, powdered sugar, hot water and vanilla.
9. Spoon the frosting into the centers of the cooled cookies and immediately add festive sprinkles. Let topping set before storing.